
How to?
Step 1 – Create VM to Host CycleCloud Wizard
Go to Microsoft Learning Center – CycleCloud Quick Start: Install CycleCloud using the Marketplace image.
The recommended system requirements:
- A 64-bit Linux distribution
- Java Runtime Environment (version 8)
- At least 8 GB of RAM (16 GB recommended)
- Four or more CPU cores
- At least 250 GB of free disk space
Get the public ip and open a browser: https://<public-ip>
The wizard will ask you to create an admin account. Do not named your account
adminor name (ex:root) that are default settings in Linux. These accounts will be added to cluster as users.
Step 2 – Add Subscription for CycleCloud Wizard
We will need to add a billing account and also delegate the creating/deleteing resources operation to an app, that has the permission to do so on behave of CycleCloud Wizard.
The CycleCloud Wizard will ask you to fill in details in Orchestrator Configuration:
Form How to Authentication Select App RegistrationSubscription ID Subscription ID Tenant ID Tenant ID, Application ID, Application Secret Application ID Tenant ID, Application ID, Application Secret Application Secret Tenant ID, Application ID, Application Secret Click Validate Credentials to make the dropdown box have effect.
Form How to Region Select default region where the resource should place at. Resource group If it is a newly created resource group, it might take a while for it to show up here.
Remember to Grant Contributor Role to the App.Fill in details in Locker Configuration:
Form How to Authentication Select Use shared access key for storage accessStorage Account Choose a storage account, if you don’t have one then create one. Storage Container Like a folder name under the storage account.
Subscription ID
A subscription is a billing account.
Go to Azure Portal -> Subscriptions -> Subscription ID
Tenant ID, Application ID, Application Secret
- Go to Azure Portal upper left menu select Entra.
- Copy the
Tenant IDat the home page. Go to the left side bar, select App registrations -> New registration
Form How to Name Application name app (or whatever name) Supported account types Choose Single tenant onlyRedirect URI (ignore) - Go to App registrations -> All applications, select the app we have just created. Find
Application (client) ID. - Under this newly created app registration, go to left panel Certificates & secrets -> Client secrets -> New client secret
- Copy the
Value, this is the Application Secret.
Grant Contributor Role to the App
We have to grant contributor role to the app we created in previous subsection.
- Go to Azure Portal -> Resource Groups -> Access Control (IAM)
- Top bar Role assignments -> Add -> Add role assignment
- Role: Select Privileged administrator roles -> Contributor
- Members: Select
User, group, or service princialand Select members, search the name of the app.
Step 3 – CycleCloud
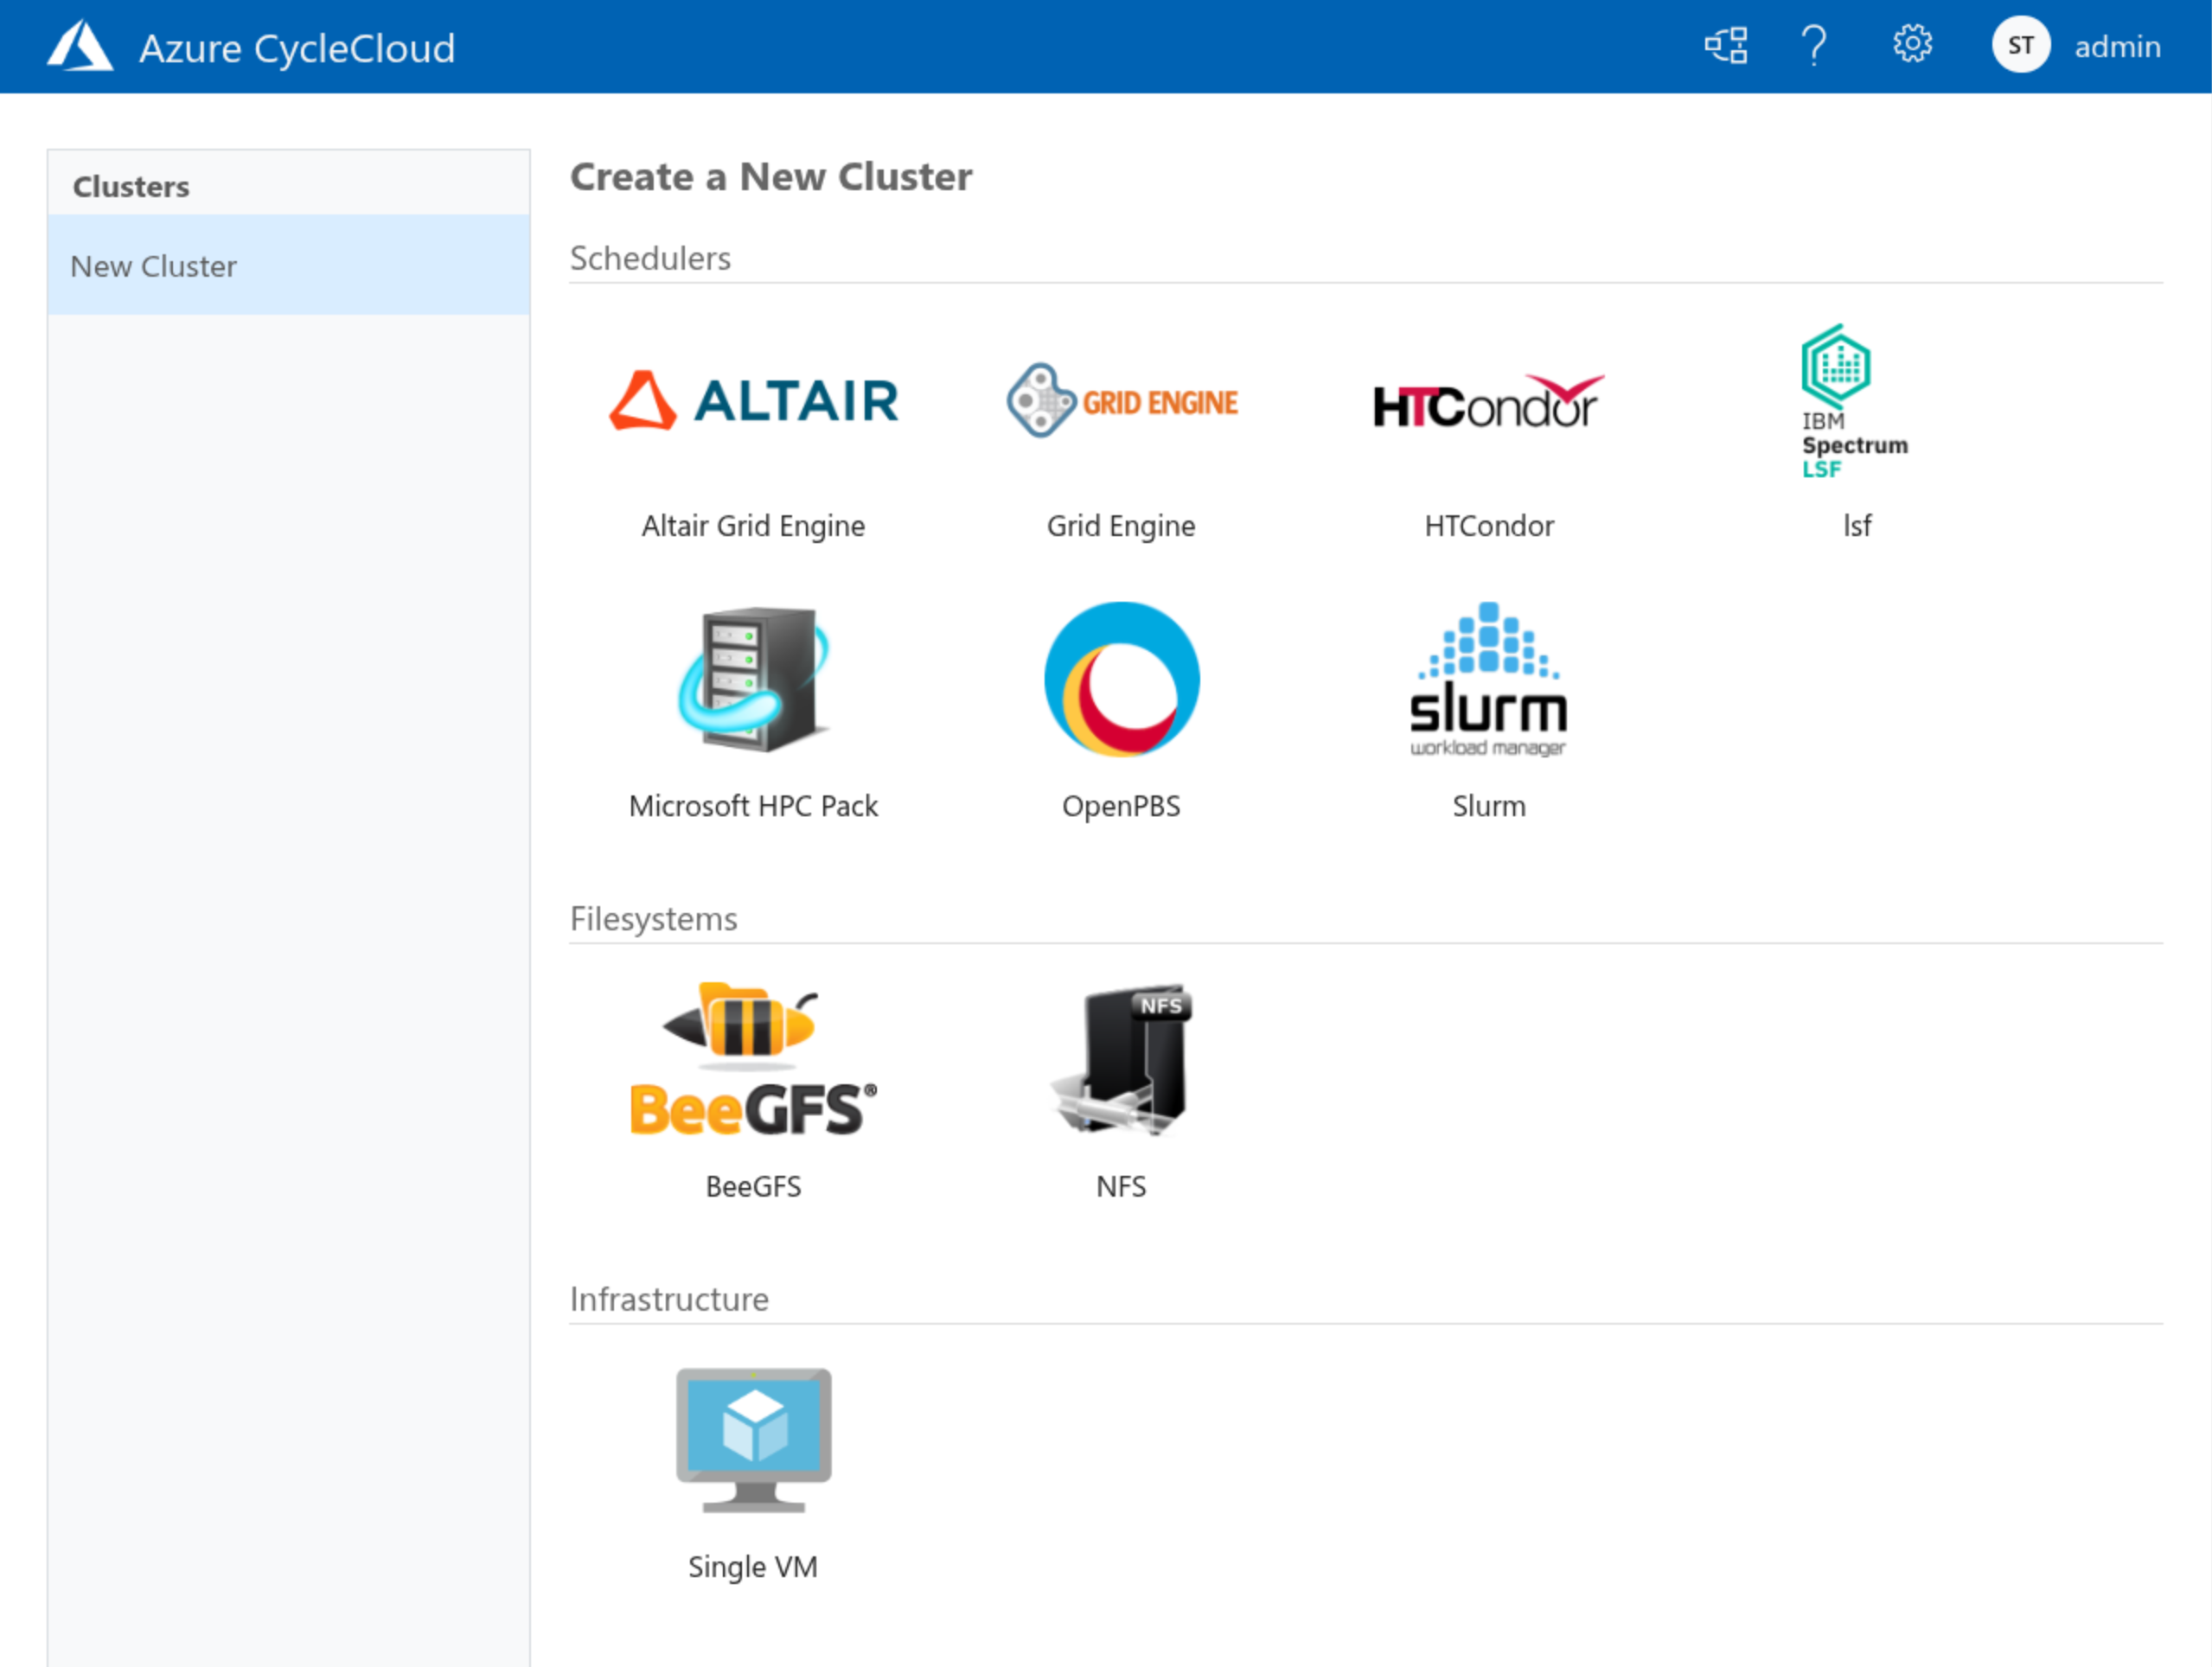
Because CycleCloud uses self-signed SSL, the browser is showing Not secure, which is fine.